
Image from Americanflat
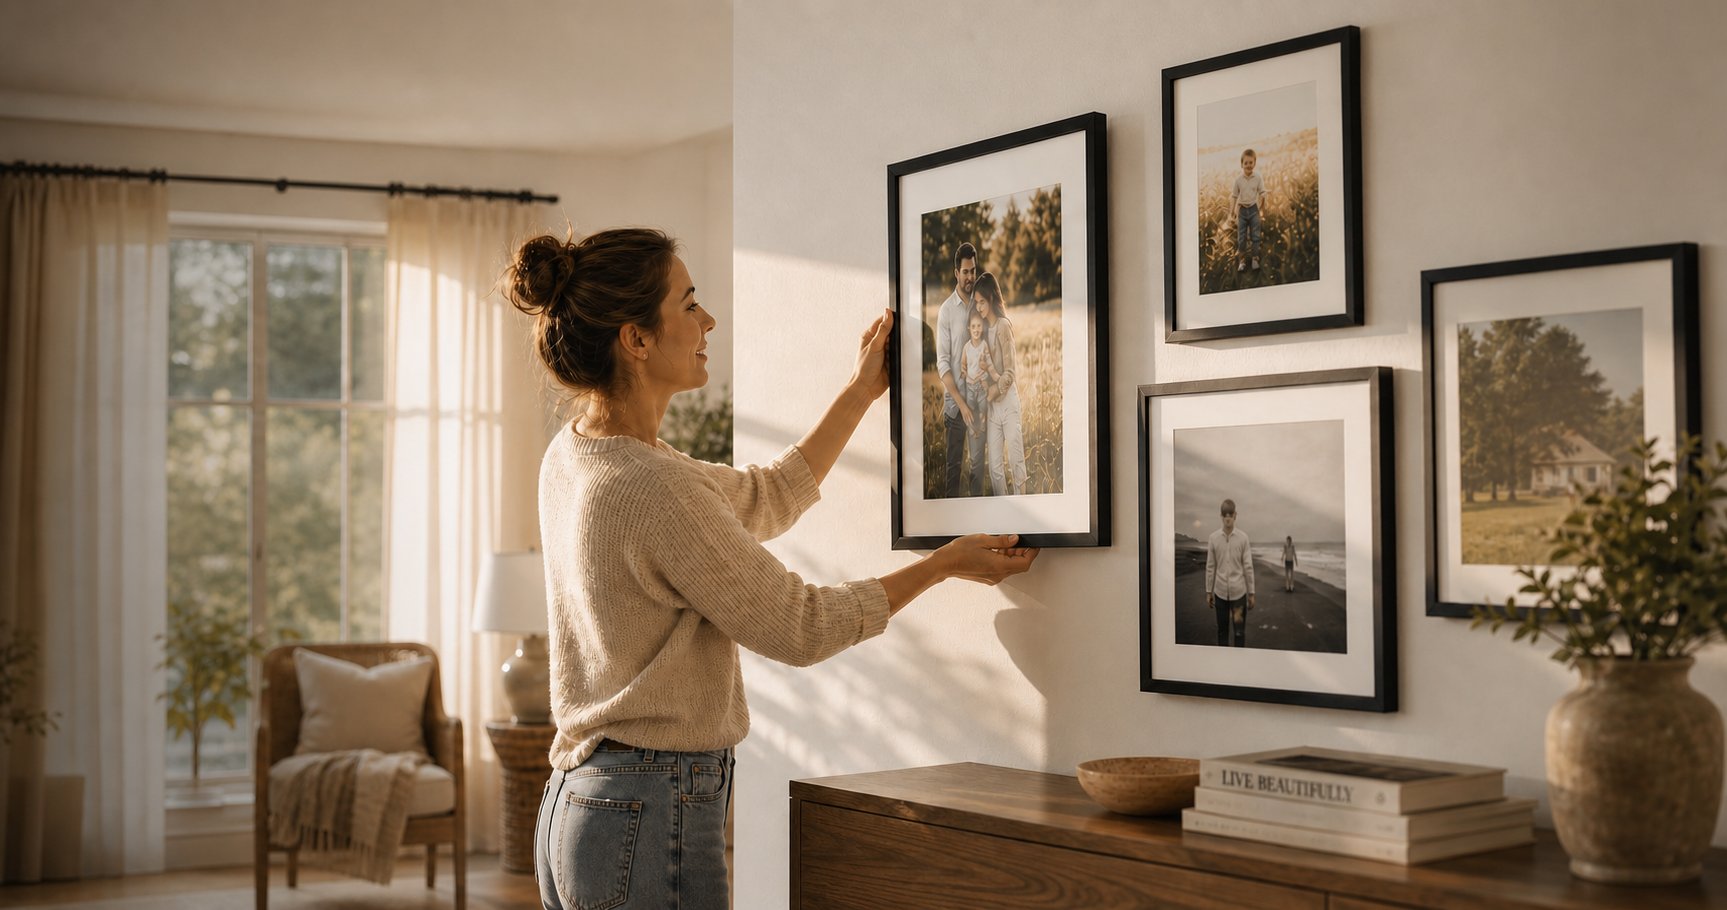
Alt text: Woman hanging family photos on wall.

Homecoming weekend packs a corsage, a group photo, and about 48 hours of nonstop texts into one fast blur before it is gone. The photos sit in a camera roll. The corsage dries out in a zip-lock bag while the ticket stub migrates to a junk drawer and disappears by November.
These four photo display ideas, including a hallway gallery wall, a tabletop shadowbox vignette, a ribbon and trinket memory board, and a dorm-friendly mini wall setup, give those keepsakes a real home without requiring a professional eye or a big budget.
1. The Hallway Game Day Gallery
A hallway gallery is the most practical location for homecoming decor, as daily attention keeps the memories active. It is the first thing people see walking in and the last thing they notice heading out.
Arrange three to five framed prints in a loose cluster to start building the visual scene. Mixing smaller candid shots with a main group portrait creates a natural visual hierarchy without needing a template or a measuring app.
The single most common reason a gallery wall looks unintentional is mismatched frame finishes that distract the eye. Black, white, and warm wood are three options that read as cohesive, so pick one and commit to it across the entire arrangement.
Americanflat's sleek wall frames make it straightforward to pull together a unified look across multiple photo sizes. Matching the outer borders automatically ties different moments together.
Unlike a seasonal bulletin board that gets packed away, a gallery wall becomes a year-round feature that lasts well beyond the fall semester.
Among the many ways to display photos at home, a hallway gallery is one of the few that keeps homecoming memories part of daily life rather than tucked away in a camera roll.
Print a few candid shots alongside the posed portrait to keep the presentation feeling alive rather than staged. A blurry photo of the whole group heading out the door adds the kind of real-moment energy an organized portrait lacks.
2. The Tabletop Shadowbox Vignette
Not every homecoming display belongs on a wall since space runs out quickly. A tabletop vignette works on a dresser, bookshelf, or side table, provided these surfaces have an available foot of room.
The concept requires one framed photo leaned upright at the back. Layering a few flat keepsakes in front from tallest to flattest instantly brings dimension to an empty corner.
Start by gathering the exact items worth saving from the night, such as printed event tickets, boutonnieres, and handwritten notes. Small charms and ribbons also help round out the visual setup by adding distinct colors to the mix.
Michelle's aDOORable Creations' handcrafted homecoming supplies provide a helpful variety of textures in one place for anyone looking to add decorative depth to their vignette. Picking out matching ribbons keeps the presentation organized.
A short checklist ensures you capture the most visually interesting physical objects before they disappear. Keep an eye out for the following items during the weekend:
The printed event ticket or program.
A corsage or boutonniere pressed flat in a heavy book within two days to safely preserve the shape.
A short length of ribbon pulled from a gift wrap or a floral box.
School or academic team buttons and enamel pins.
A screenshot of a meaningful text message printed and trimmed down to standard card size.
The wrist corsage elastic band.
Any small physical favor handed out at the event itself.
Cap the setup at five items total so the arrangement stays curated rather than turning cluttered. Store any overflow in a labeled envelope tucked behind the frame instead of forcing extra pieces onto the surface structure. Selecting a tray or small cloth liner in a specific school color ties the scattered objects together neatly.
3. The Ribbon and Trinket Memory Board
Some physical keepsakes retain their shape and refuse to sit flat behind glass. A fabric-covered corkboard layered with a ribbon grid holds pinned photos, folded cards, and small charms that a traditional frame cannot accommodate. This format directly invites fresh additions over time, shifting the space into an expanding collection rather than a static presentation.
Building the structure takes three basic steps anyone can finish in an afternoon. First, stretch a solid-color fabric over a standard corkboard and secure it to the back with a heavy staple gun.
Run wide lengths of wired-edge ribbon diagonally across the board in a grid pattern to create the foundation. Pinning every intersection firmly in place provides the anchor points needed for larger items.
Once the grid is built, vary the hanging details to add depth without increasing the visual footprint. Tuck smaller photos and flat paper items safely under the ribbon crossings to secure them in place. Pin round buttons, fabric flowers, or small mementos directly into the cork at the exact spots where the crossed sections meet.
Finish the board by painting or wrapping the outer frame edge in a primary school color. This addition gives the display a finished look rather than leaving it resembling an incomplete weekend hobby.
4. The Dorm-Friendly Mini Wall Setup
For collegiate students heading into a dorm or renters working off leases without nails, a compact display tackles the hanging problem entirely.
Lightweight picture borders mounted with removable adhesive strips deliver the exact visual result of a traditional gallery collection. These temporary setups pull down in seconds and leave zero damage, saving your deposit while sparing you from irritating patching labor at formal move-out.
Two format paths give the setup enough flexibility to match different apartment walls. Option A focuses on a structured mini gallery created with four small frames placed in a rigid square grid layout.
Option B instead implements a casual string piece hung horizontally between two adhesive hooks holding photos attached by standard wooden clips. This secondary format makes it simple to swap paper images whenever a newer print arrives.
Tack a short strip of wide fabric ribbon reflecting a team color directly above the central cluster to frame the full visual arrangement. This builds a specific zone dedicated tightly to memory keeping without demanding a frustrating trip heading to the hardware store. You can continuously update the space yearly as fresh photos easily replace older printed memories.
Organizing Principles for Any Presentation
Keeping frames and items from looking cluttered requires setting boundaries on materials. Follow a few rules before hanging the first custom arrangement.
Stick to two school colors across frames and backing mats, so the central display automatically reads as intentional.
Use appropriate removable adhesive backing strips rated for managing lightweight frame load sizes.
Press and hold each wall mounting strip flat against the drywall for thirty full seconds smoothly before hanging items.
Print two or three random candid shots alongside any professionally posed formal portraits.
Keep physical keepsakes to precisely five items or fewer per designated zone to dodge visual overload issues.
The Path Forward
These physical displays build character with standard repetition over passing academic semesters. Every October brings the chance to add one new framed picture directly into the hallway gallery setup or safely tuck a fresh printed ticket stub down into the fabric memory board.
By senior year, the flat structural wall transforms into a four-chapter visual timeline highlighting broader experiences rather than remaining a stale record pointing to a single evening.
Three explicit choices drive the entire setup process. Utilizing just two school colors, strictly capping the physical zone at five items, and picking one uniform frame finish establish design boundaries. Creating a dedicated display protects delicate ticket stubs, pins, and corsages from getting lost inside a desk drawer over the summer.

Post a Comment