
Real estate photography is an essential part of the home-selling process. According to a recent study, listings with professional home photography receive 61% more views. Taking quality photos of a property can make it stand out from the competition and create an attractive listing.

Source: Unsplash
So, what goes into taking great real estate photos? Read on to learn more about the art of real estate photography and how to take stunning photos of any property.
Steps to Take Excellent Home Photos
Here are the steps you must take to ensure your home photography is up to the mark.
Compile a Shot List
Creating a shot list is an essential step in the home photography process. It will help you plan ahead and decide which shots to capture when visiting the property. Shots typically include the home's exterior, the front view, a corner view, and any unique features like a garden or pool. Interior shots of the main living spaces, kitchen, and bathrooms are also important.
When photographing a home's interior, you'll want to highlight the home's best features. A few must-have shots include at least one wide-angle shot of each room, close-ups of any interesting features, and details shots like furniture, art pieces, or decorations. Additionally, you'll want to capture views through windows that add to the home's appeal.
Prepare Gear and Equipment
Once you have compiled a shot list, you know what equipment to execute those shots. Having the right and complete gear and equipment is key to taking excellent home photographs! Equipment that is typically used for interior photography includes:
Camera
Lense
Tripod
Remote trigger
Lighting equipment
Walk Through the Property
This means exactly as it sounds. Taking a stroll around the property will give you an excellent idea of how to capture the space best. Walk in and around each room, looking for interesting angles that help show off the space’s features. Try to take pictures from various heights to get different perspectives on the property.
Also, capture wide-angle shots of larger spaces such as living rooms, kitchens, and outdoor spaces. Look for unique features such as a fireplace, built-in shelves, and windows that can add interest to your photos. If the space has outdoor elements, don’t forget to take pictures.
Clean and Set Up the Scene
Before taking pictures, cleaning the property and ensuring all furniture is in place is important. Cleaning can include dusting, vacuuming, and arranging furniture and other items in the home. This will go a long way in making your photos look professional.
Tips to Take Your Home Photography to the Next Level
Source: Unsplash
Use Natural Light
Shooting in natural light can make the photos look more inviting and vibrant. Just open the curtains and let the natural light in. This also means you only need a little lighting equipment; fill lights and reflectors will be enough to do the job.
Bounce and Defuse Artificial Light
When using artificial light, make sure to bounce and diffuse the light for softer, more even illumination. Bouncing light off a wall or ceiling will create soft shadows that enhance the photo. If you don’t have any bounce material, a white sheet or even a piece of paper will do the trick.
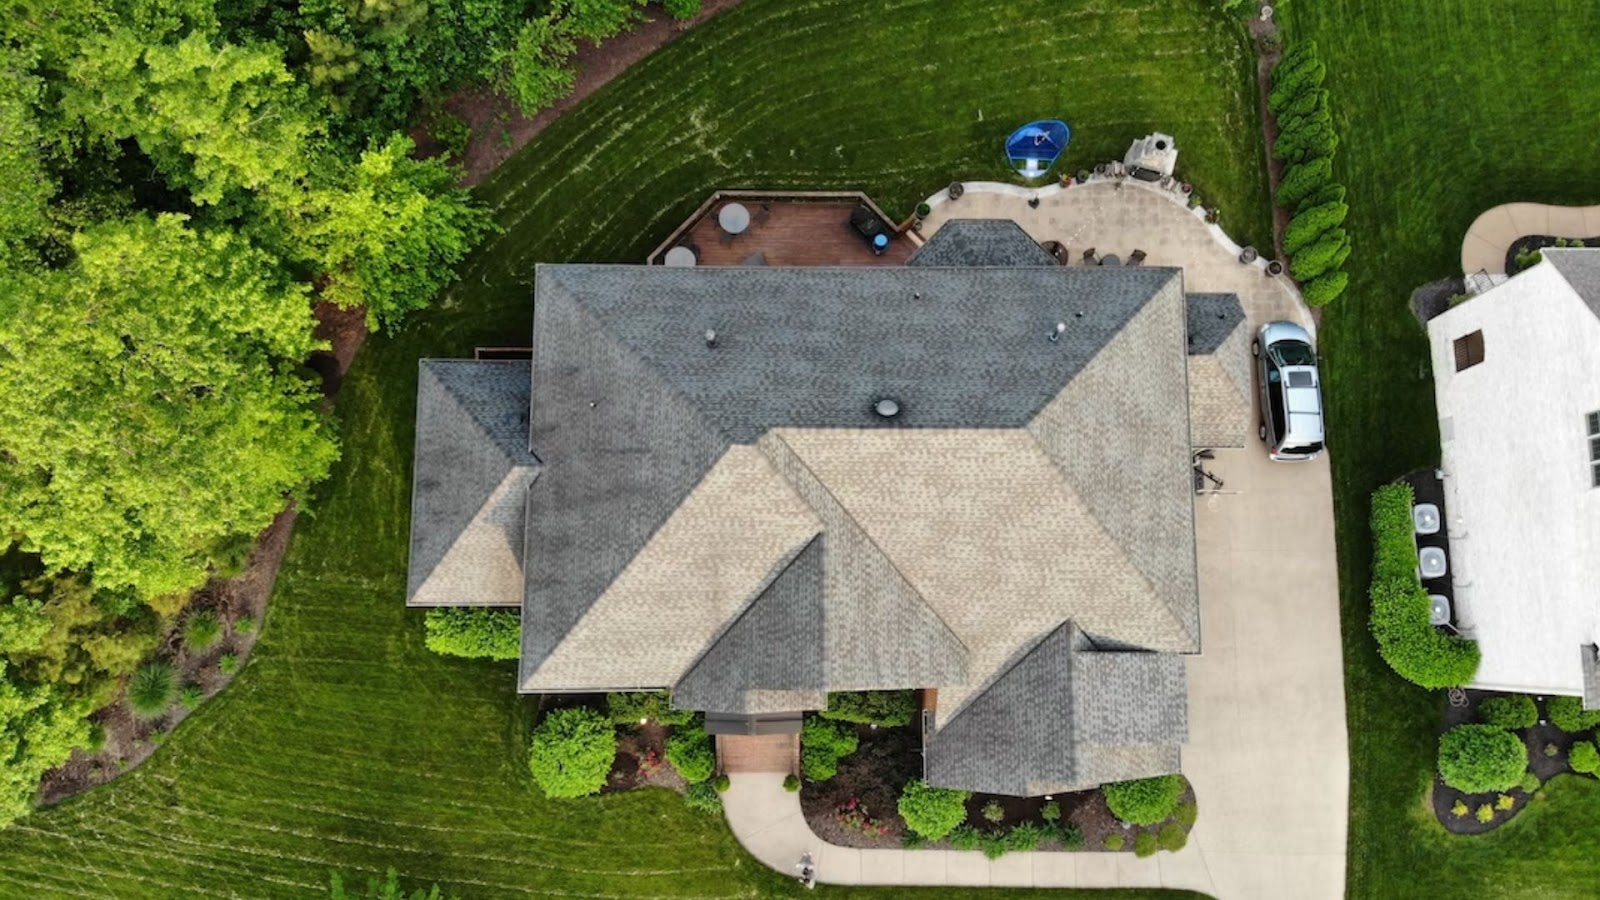
Use Drone Shots for Exterior Photography
Using drones for real estate photography has become increasingly popular. Not only does it help capture the property from a unique aerial perspective, but also makes the property stand out from the competition. It gives a comprehensible and unobstructed view of the property and resonates well with the viewers.
Use the Best Camera Settings
Using the right camera settings for home photography is essential to getting sharp and well-exposed images. Generally, a high f-stop like F11 or F16, ISO of 100-200, and a shutter speed of 1/100 to 1/125 are best for home photos. Also, it’s best to shoot in RAW format, giving you more room for editing.
Choose Your Angles Wisely
When taking pictures of the home, select specific angles to make certain aspects of the property more prominent. For instance, if you want to emphasize the height of the ceiling, take a shot from a lower angle; if you want to capture the full length of a room, shoot from an elevated angle.
Edit Lightly
Editing is a vital part of home photography to enhance images. No matter how excellent you were with the lighting and composition, there is always room for improvement. Make sure to lift the blacks and lower the whites to give a better contrast to the images. But avoid over-editing the photos—too much can make the images look fake. Use background remover tools to refine the background while keeping other elements intact.
Key Takeaways
Home photography is an integral part of selling a property. It is essential to ensure the images look professional and showcase the space in the best possible light.
Remember to:
Use natural light when taking pictures to make them look inviting and vibrant.
Bounce and diffuse artificial light for softer, more even illumination.
Use drone shots to capture the property from a unique perspective.
Select specific angles to make certain aspects of the property more prominent.
Edit photos lightly by adjusting the shadows and highlights for better contrast.
Use background remover tools to refine the background.

Post a Comment